Skip to content
WearMindWearMind
English
AI Virtual Try-On

AI Clothes Changer

Use this guide to prepare a person photo and garment references, then move to virtual try-on when you are ready to generate.

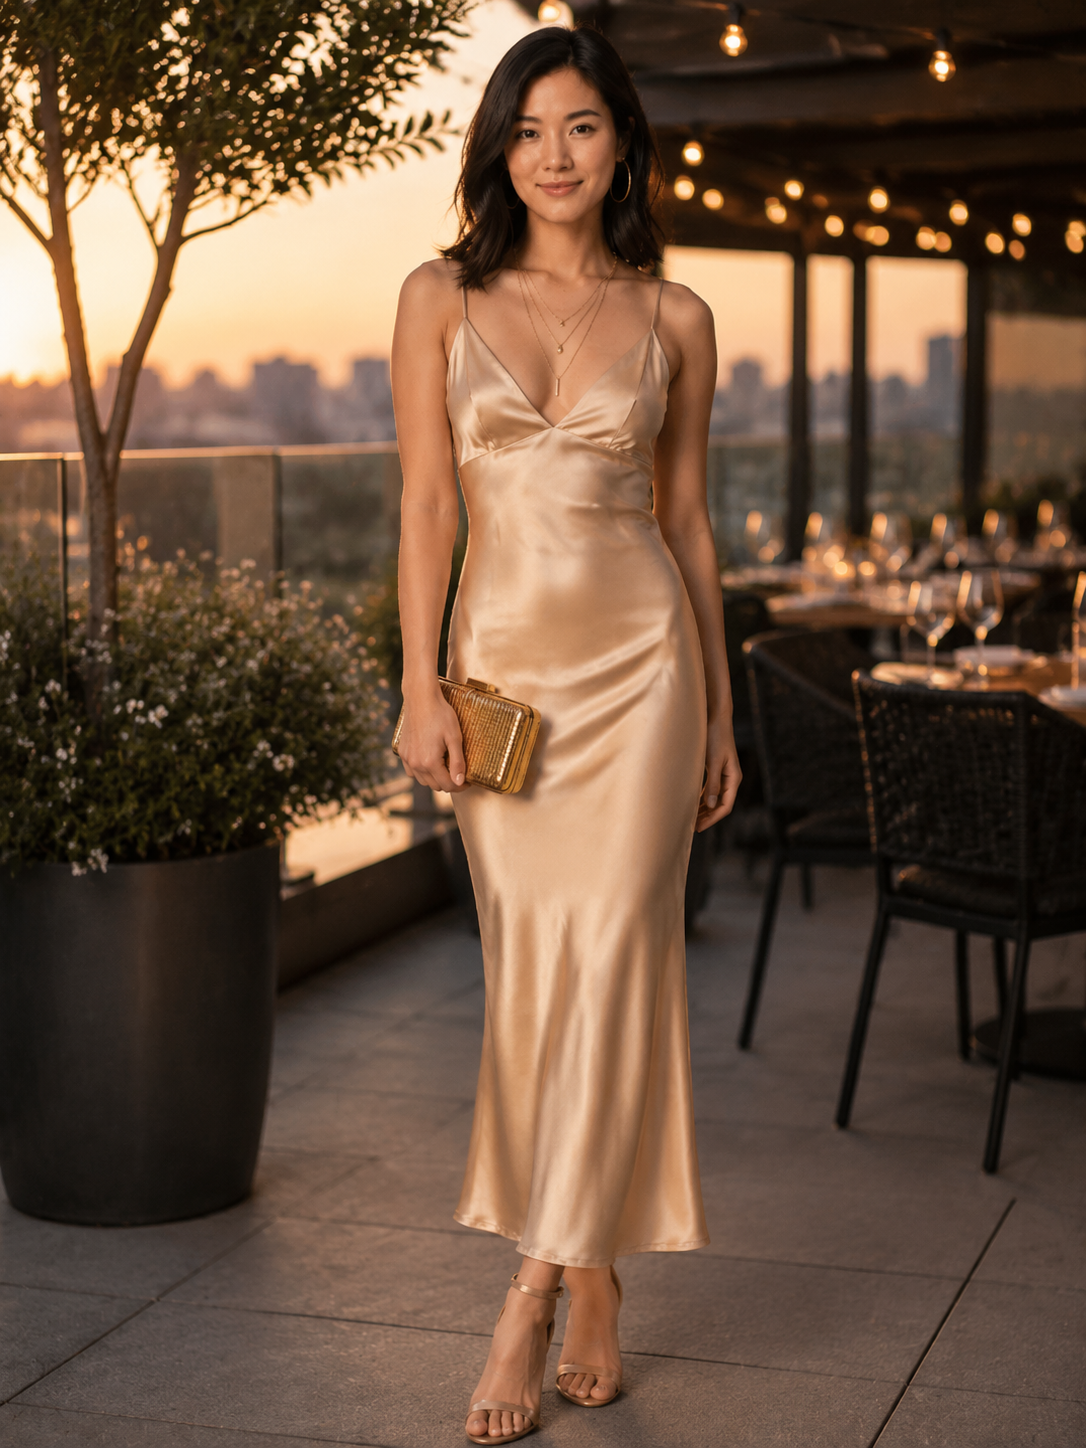
AI Clothes Changer visual example 1: source image
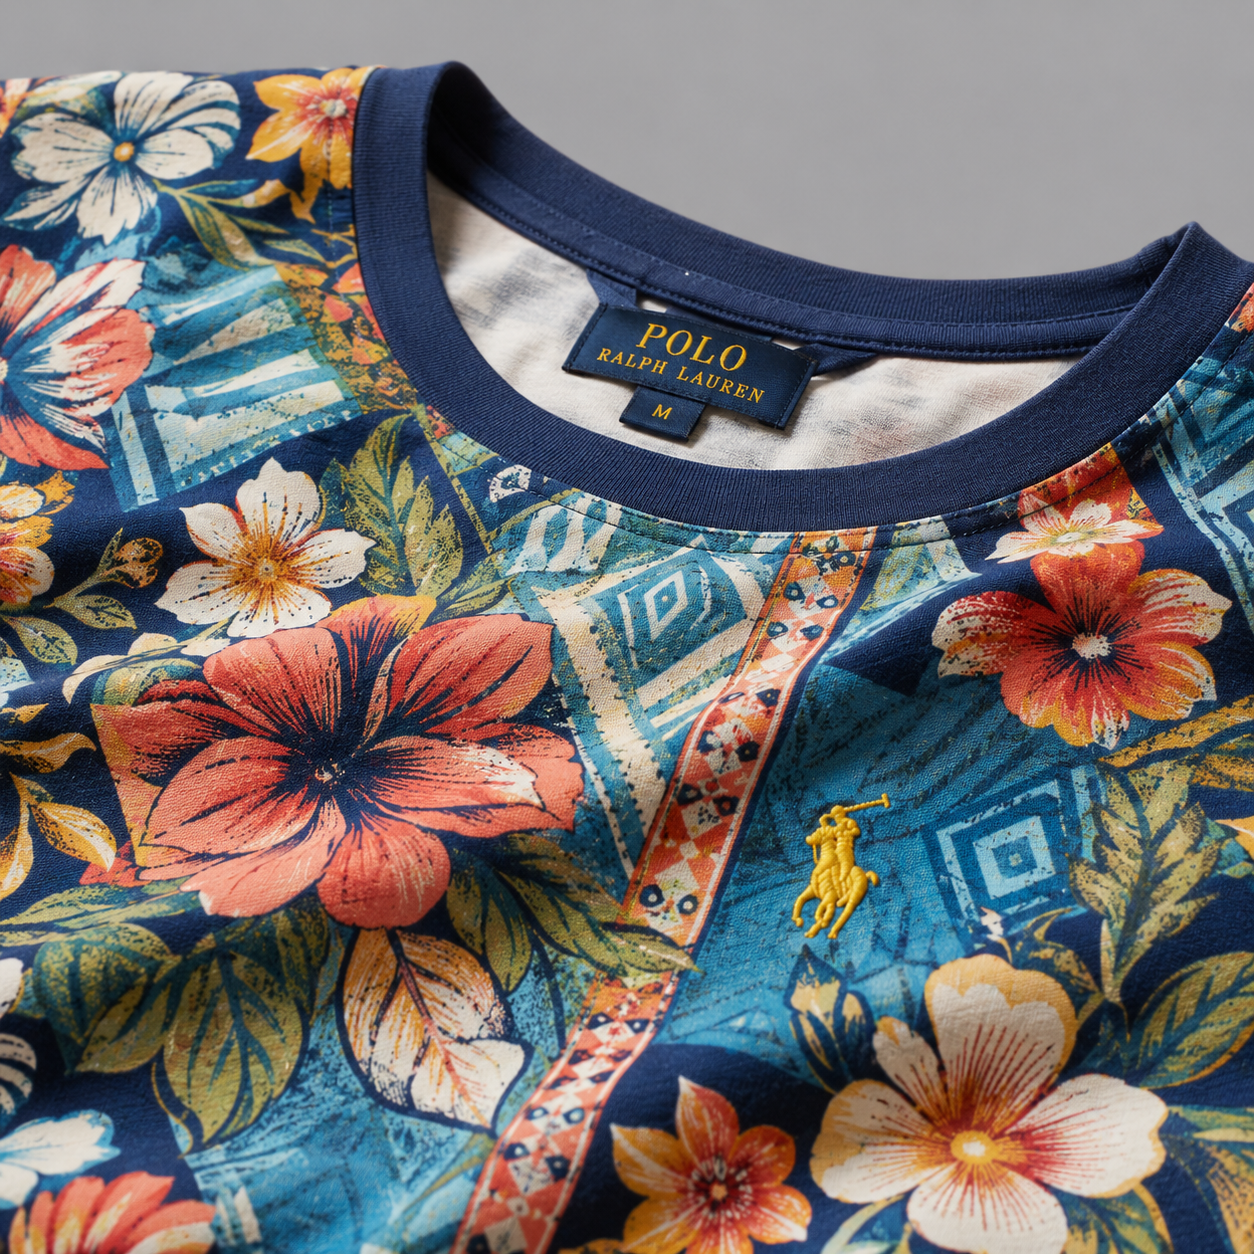
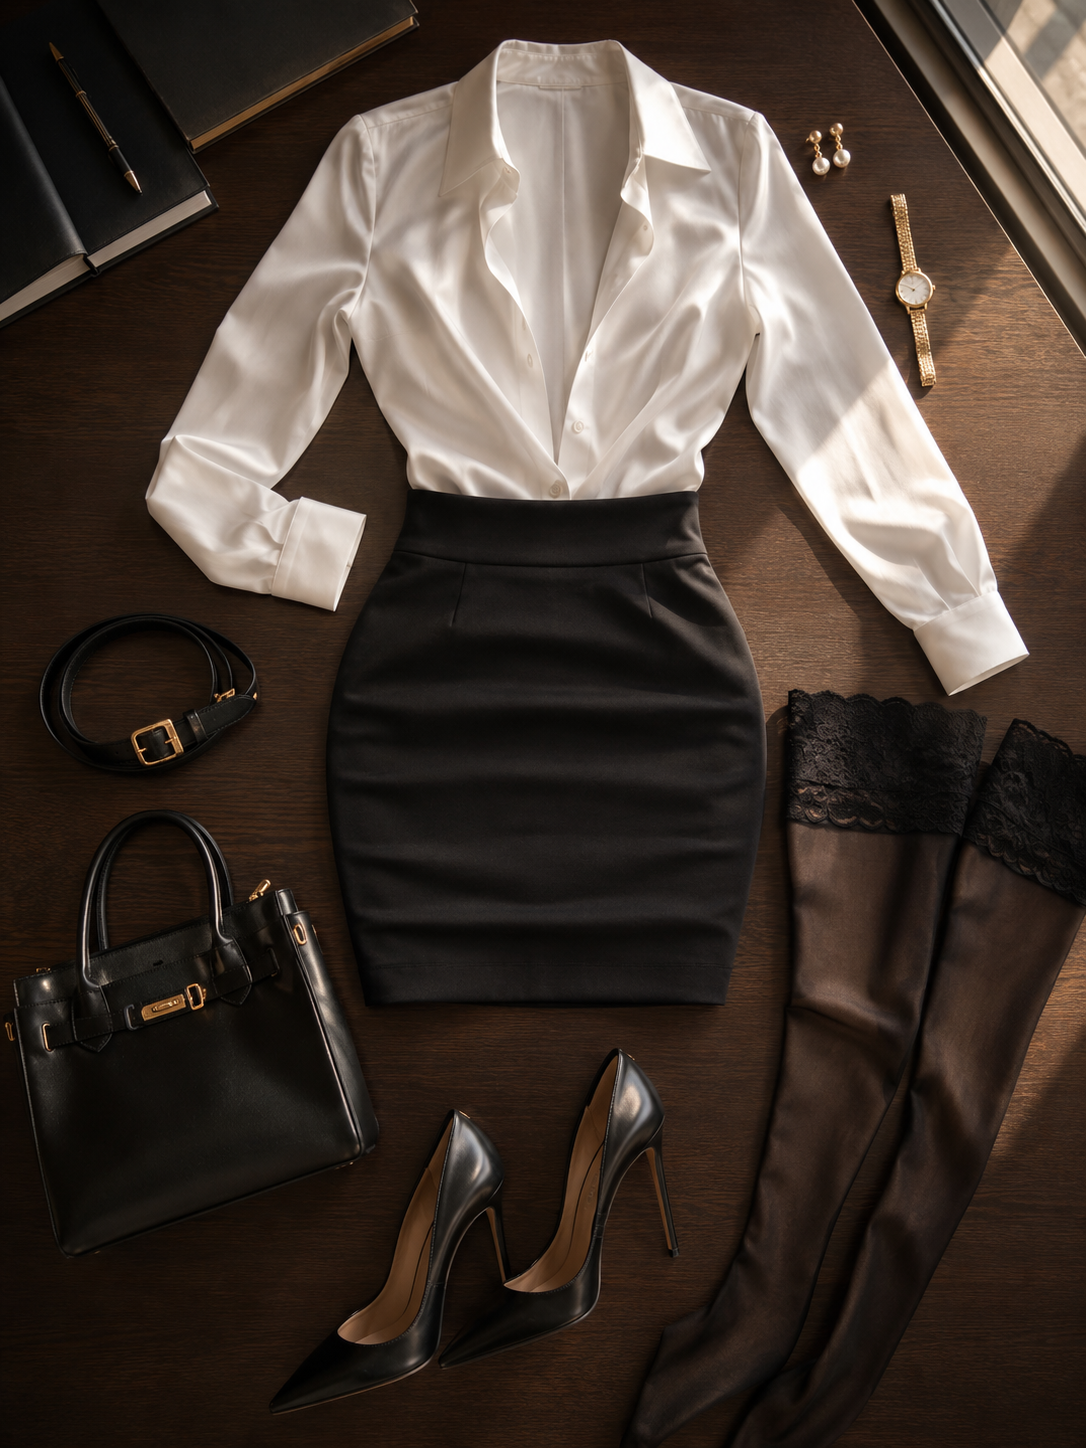
AI Clothes Changer visual example 2: reference image
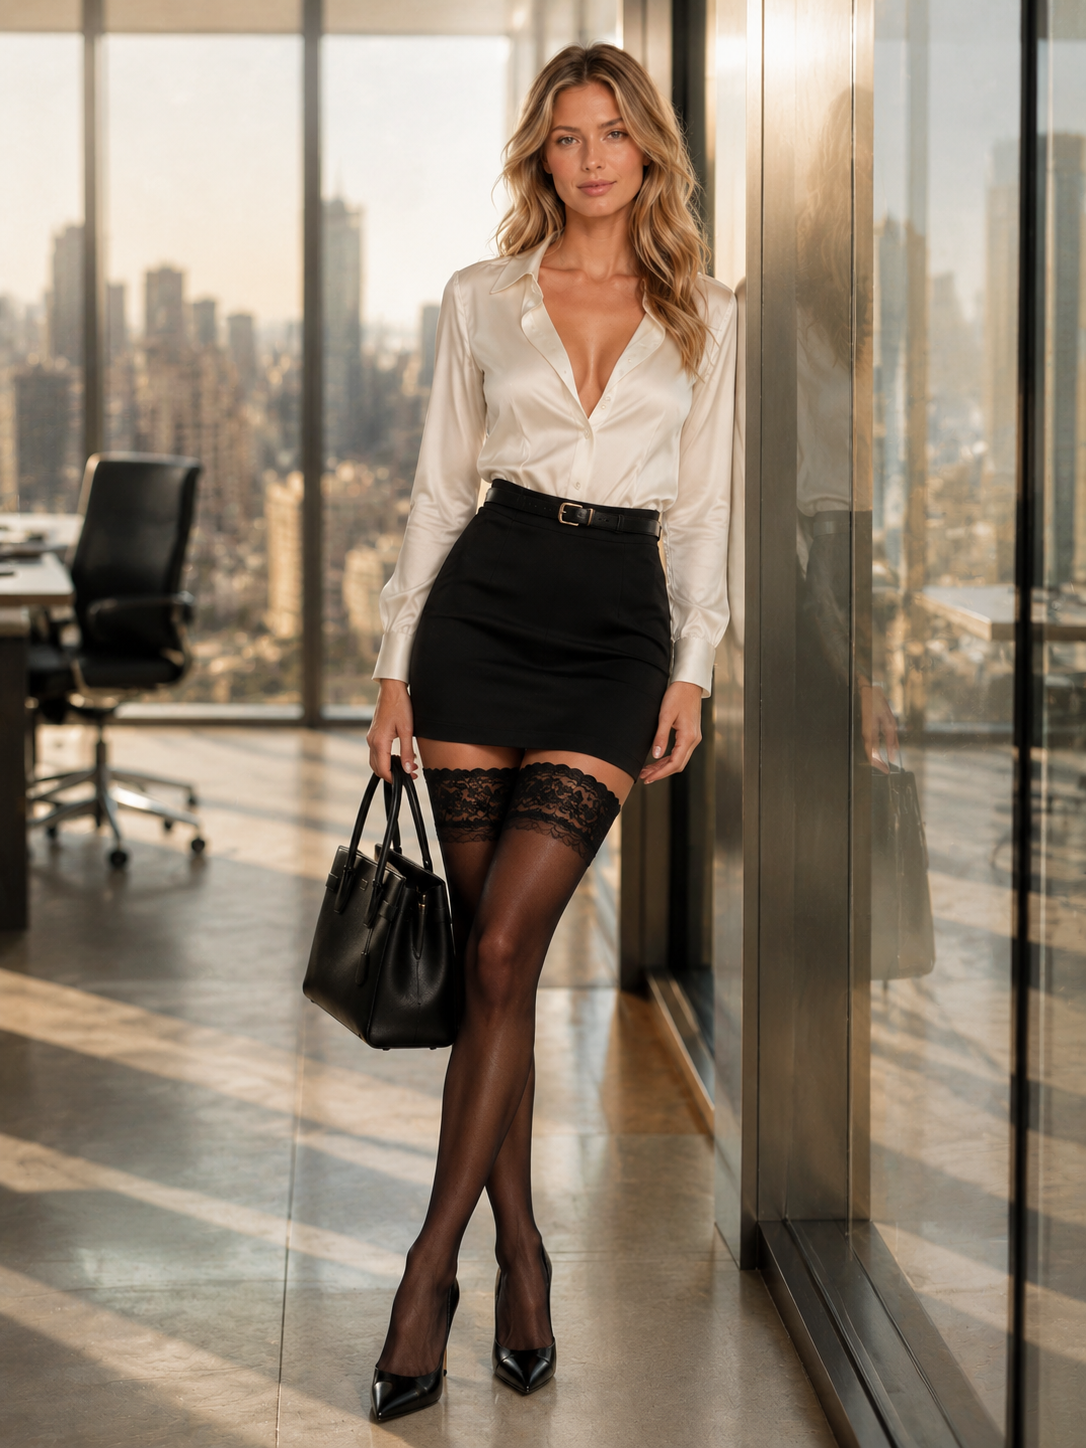
AI Clothes Changer visual example 3: AI result

Start with a photo that gives the model enough context

The best input is a clear person photo where the garment area is visible from shoulders to hips, or full body for dresses and long coats. Neutral poses help because hands, bags, crossed arms, and heavy shadows hide the places the replacement has to join. A casual phone image can work, but give the model enough resolution to read face direction, body angle, sleeves, waistline, and background light.
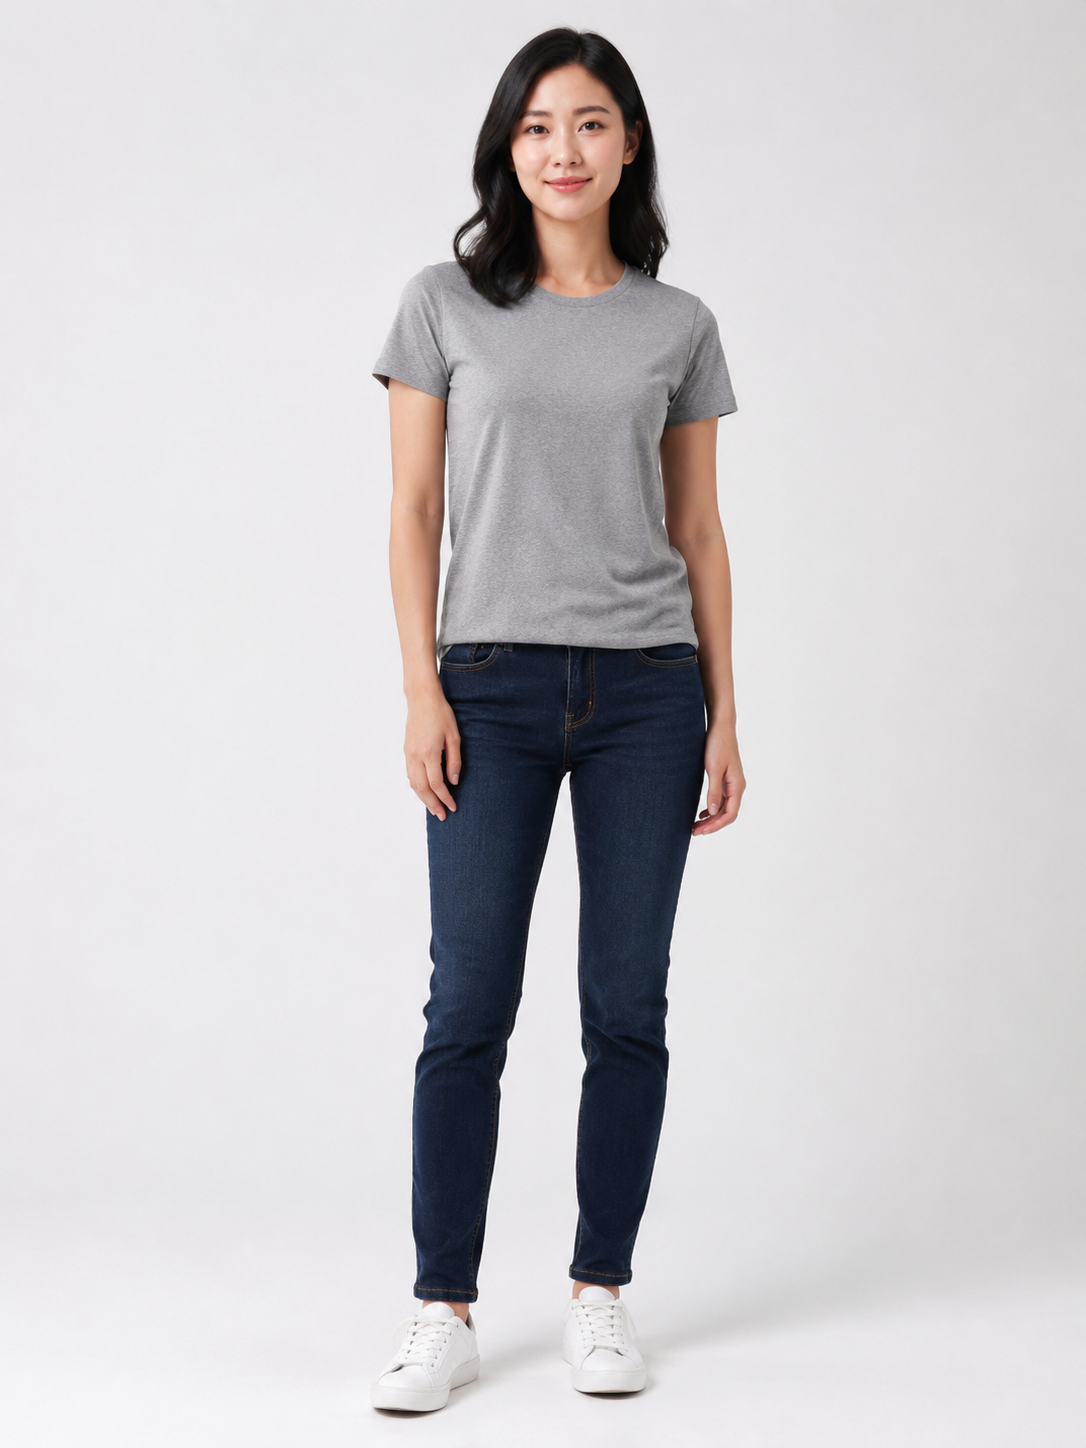
AI Clothes Changer visual example 1: Start with a photo that gives the model enough context

Use garment references that explain the shape

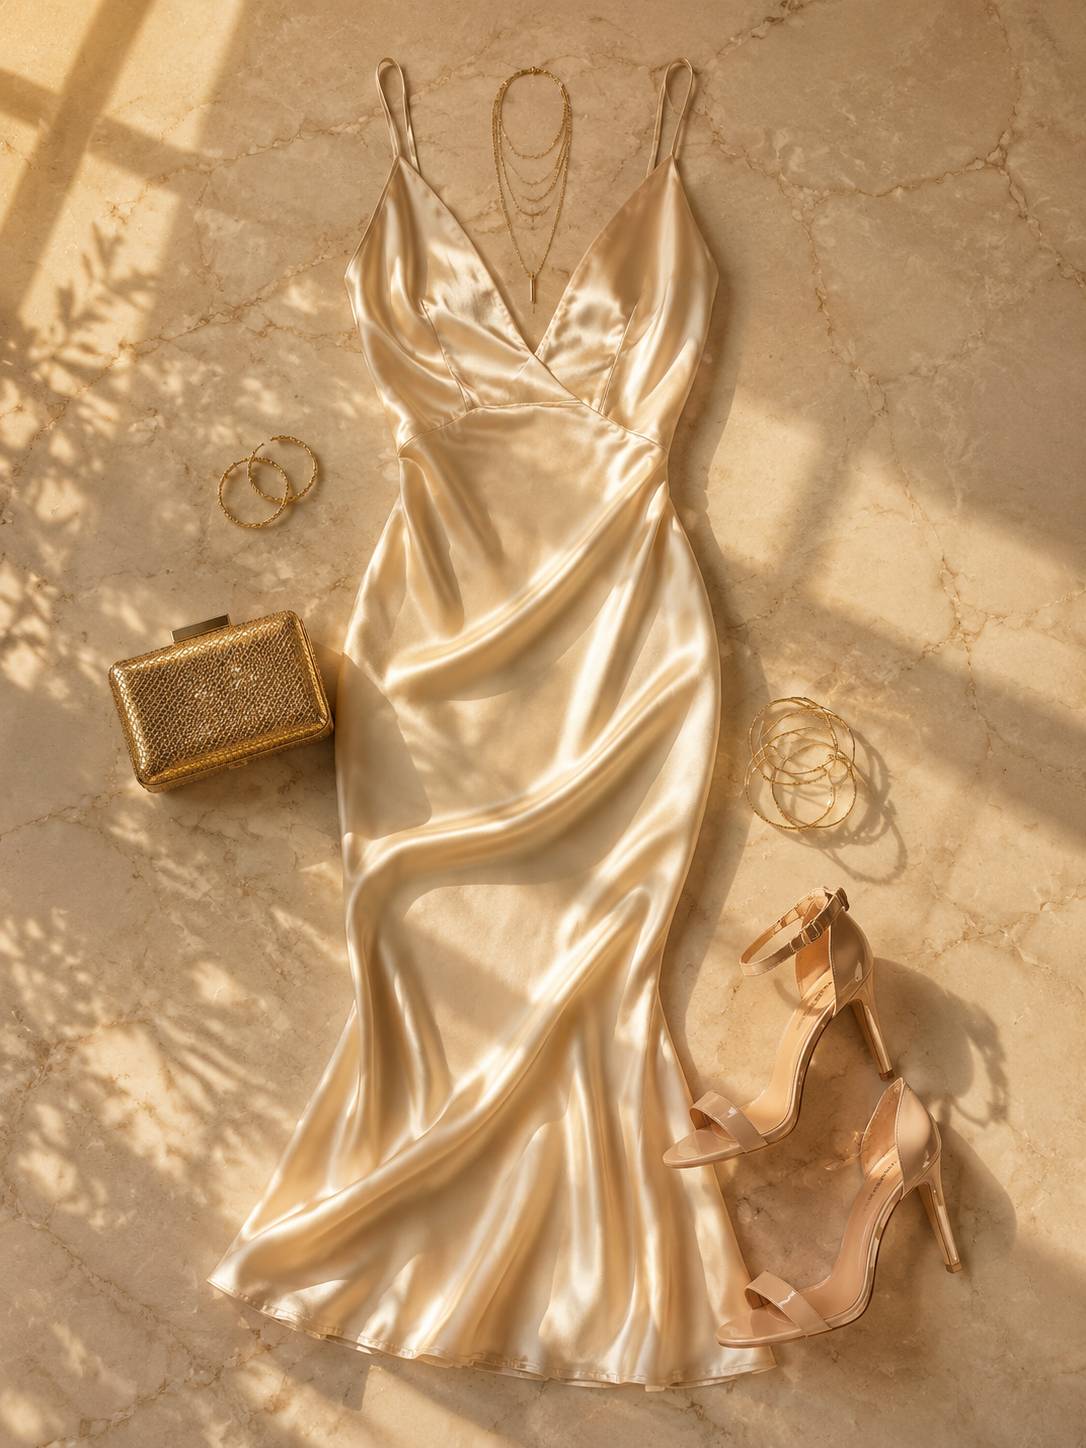
Upload clothing images that show the real item, not only a mood board. Product shots on a plain background are good; on-model references are also useful because they show length, collar structure, pockets, fabric weight, and how the piece hangs. If you upload multiple garments, make sure they belong together as one outfit. Conflicting angles or overlapping references usually create weaker edges.

AI Clothes Changer visual example 2: Use garment references that explain the shape

Keep the request focused on changing clothes

Use this page to plan outfit replacement before opening the generator. You can ask for small cleanup around the garment, but avoid combining a new pose, a new room, a different person, and a new outfit in one generation. When the face, body angle, and lighting stay stable, the result is easier to judge and more useful for product previews, creator content, or a client concept board.

AI Clothes Changer visual example 3: Keep the request focused on changing clothes

Review the result before using it

Treat the output as a production draft. Zoom in on sleeve ends, hems, logos, buttons, necklines, hands, and shadows. Check whether the fabric follows the body instead of floating over it, and whether the color still matches the light in the original image. If garment detail matters for a listing, run another version or use a cleaner reference before publishing.

AI Clothes Changer visual example 4: Review the result before using it

Frequently Asked Questions

What can this workflow change in a photo?

It can replace visible clothing on a person photo with one or more garment references. Tops, dresses, jackets, skirts, streetwear, and layered outfits work best when the input images show clear structure and enough body context.

How many garment references should I upload?

Use one strong reference when you care about a single item. Upload two to five references when the outfit has coordinated pieces, such as a shirt, blazer, skirt, and shoes. Keep the references visually consistent so the generated look does not mix incompatible angles.

Do I need prompt writing skills?

No. The core flow is image driven: upload the person, upload clothing references, choose size and quality, then generate. A short note can help when you need a detail preserved, but the garment images do most of the work.

Can I use the result for product pages or ads?

Use it as a draft that still needs review. Before publishing, check fabric texture, labels, hands, hems, and legal rights for the source photos. For paid ads or product listings, use source images you own or have permission to edit.

How do credits and quality settings work?

1K is the lowest-cost option for fast previews. 2K and 4K use more credits because they preserve more detail. If you are testing ideas, start at 1K; move up when the image is close enough to polish.

Start Free — 25 Credits, No Card

Build your first clothing change workflow result in under 2 minutes. Commercial rights included.

Try Virtual Try-On